Little knitted pumpkins
Written by sally_in_wales
These cute little pumpkins can be made very quickly from a short section of tubular knitting, or even better, why not try recycling a dead knitted sock or the sleeve of a jumper that is past it? I can imagine these looking lovely in fair isle.

You need:
A piece of tubular knitting approximately the same length as the tube is wide. You could cut this from an existing article, or knit a piece just as you would a sock leg.
Some toy stuffing, wool waste or similar stuffing material.
A large needle.
A small amount of contrast yarn for the stalk and a pair of double pointed knitting needles in a suitable size for this (or you could crochet or lucet a stalk, be creative!)
Method:
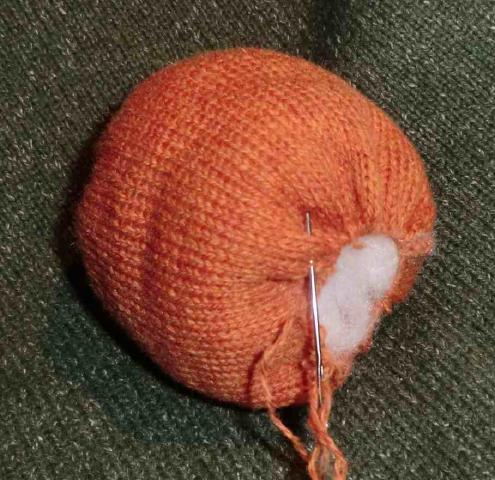
Gather the bottom of the tube and secure tightly. You can do this either by unravelling a little bit and using a needle to draw this yarn through the live stitches, or with a slightly longer tube, you could bunch it together, wrap yarn round the 'tuft' created and make sure this raw end is inside the pumpkin before you stuff it.
Stuff the pumpkin lightly then draw up the other end and secure neatly. You should now have a ball shape.
Now the stalk. Either work a few rounds of 4 stitch i-cord (instructions here for several methods), or create a stalk by some other method. Sew this firmly to the top of the pumpkin.

Just the indentations round the sides to go now. Thread the large needle with contrast yarn and take big stitches through the centre of the pumpkin top to bottom, round to the top, and back through the pumpkin. Do about 8 of these, or as many as suits your particular pumpkin.
Give the whole thing a bit of a wriggle, patting any folds into place and redistributing stuffing as needed, and you are done!

Mine was in a feltable wool, so I popped it into the washing machine with my next lot of laundry to felt the surface and shrink it a bit. It's now a pincushion.
|

