Building a Cob Oven
Written by Truffle
After reading various bits and bobs and needing some distraction therapy, we decided to have a pop at a cob-oven. This was a quick and easy trial to see if the concept worked, before building a full-scale version. A little shoddily done and all materials found around the farm, but it worked! This is a step-by-step account of what we did, as first timers, and hopefully it will help you in your earth-oven endeavors
Starting with the base. Now, Ive seen images of people digging foundations and laying cement etc for their base, which always seems a little overkill to me. We used a compacted and graveled area but if youre building your oven onto earth, digging the base stones in a little and compacting should be more than sufficient. Then again, Im a biologist and not an engineer:

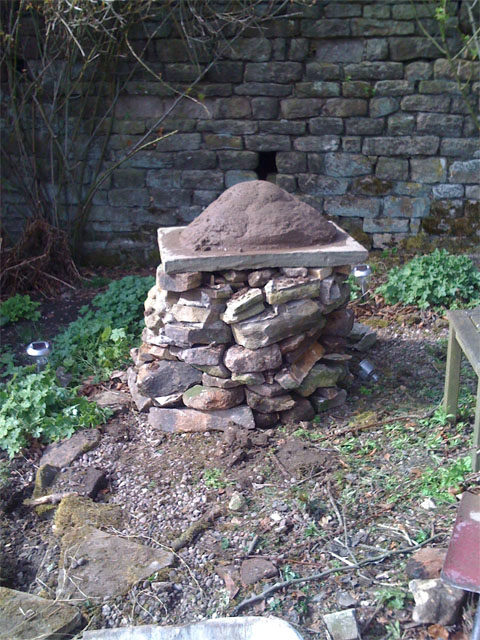
The next stage is to build a raised platform, here we laid stones in a circular pattern and built the layers-up gradually. My dry stone walling skills are obviously pretty undeveloped, but again this was just a quick project to prove the concept before we build a larger and more permanent oven. In the middle of the column we added muddy gravel to help with stability. The top, or oven floor, is a piece of York stone, which turned out to be a bad choice as it cracked. Fire bricks would obviously be better:

Next you need to build a mound of damp sand that will eventually be your oven space. Ive read reports of difficulties in lighting fires in earth ovens so we built the front so that it was sloping slightly backwards to allow a better aeration when the fires lit, you can add a chimney but its better for heat retention if you dont:
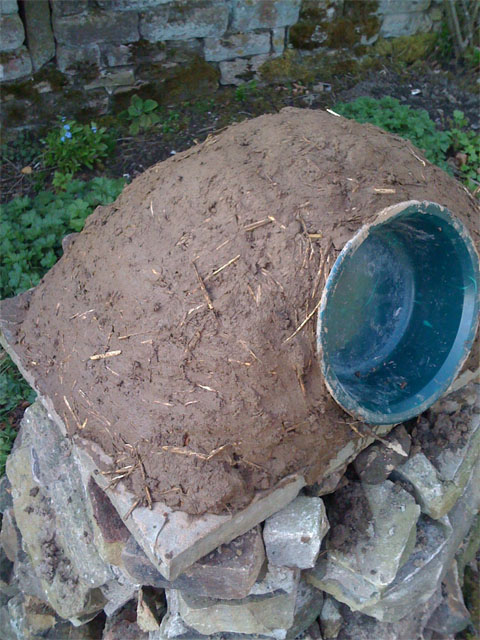
Next, you need to add a layer to separate the sand from your first layer of cob. Some people use plastic, but damp newspaper is far better. You dont want plastic stuck inside your oven, whereas its no problem if the newspaper is hard to remove since it can easily be burnt upon the first firing. This is also a good time to add a form that can be built around and removed later to form your oven door. Here we used a simple plastic tray:

Next, you need your cob! We used earth dug from the ground, which was a well balanced loam without too much clay (which was a bit of a worry). We paddled the soil with water and added a thick layer. Next we did the same for the second layer, but this time mixed in straw to help strengthen and insulate the oven. The structure stared to drip and leak a lot of water as the pressure compressed the sand layer but with a little re-forming it seemed OK. At this stage the 'oven' was left for 2 weeks to cure:
You then need to remove your form, gently to avoid cracks and then the sand can be excavated to form your oven. The image here is with the sand removed and a little kindling added:

Then its time to light a fire
this was the first oven weve built and I was unsure if the fire would burn without enough airflow, but after adding plenty of dry twigs and a match the fire really took off. This stage also helps to harden your oven. Whilst the fires burning, check for smoke rising out of cracks- these can be filled with more cob once the oven has cooled. We heated ours until the outside of the oven was hot:

When youre ready to cook, you rake the embers out (or push to the side), add your food and seal. We used part of an old steel bin as a door (oh, the glamour) but wood would probably be better:

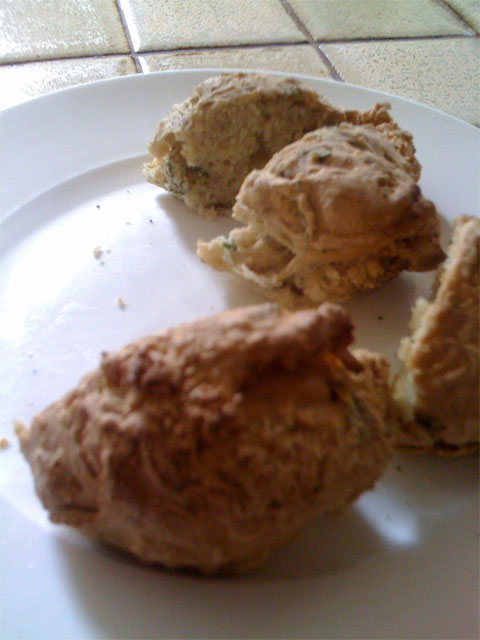
The first food was sage soda bread, which cooked beautifully in around 10mins. I imagine that meat and fish would also cook very well, remaining relatively juicy, in this type of oven:
Well, were not experts. Cob is completely new to me, biology and fungi are my real specialities but hopefully these ramblings will help guide you a little. The only modifications we would make are to make the oven larger, on a more stable platform and to use different stone for the oven base as the York stone cracked with the heat.
Overall, a very good fun project , I cant wait to build another and experiment with more recipes.. Enjoy and lets see some more photos of peoples creations!
Truffle
www.PlantationSystems.com - grow truffles in partnership with the experts.
|

